Monday, August 30, 2021

Have you heard? -- It's Sale-A-Bration time!! Again!!!

Stampin' Up! is having a second Sale-A-Bration period this year - it's happening now through September 30th.  If you're on my email list, you already know this.  If you're not, you can Subscribe via the link in the right-hand column so you'll get timely notification of any new sales, specials, classes, events. etc.

During Sales-A-Bration, you can snatch up some awesome products for free with a qualifying purchase.

Here's a peek at the items you can earn for free...


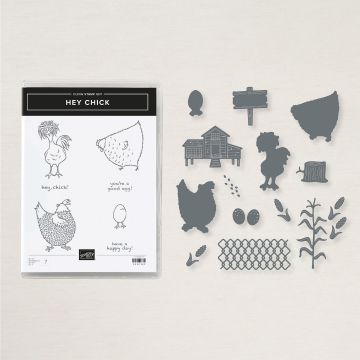
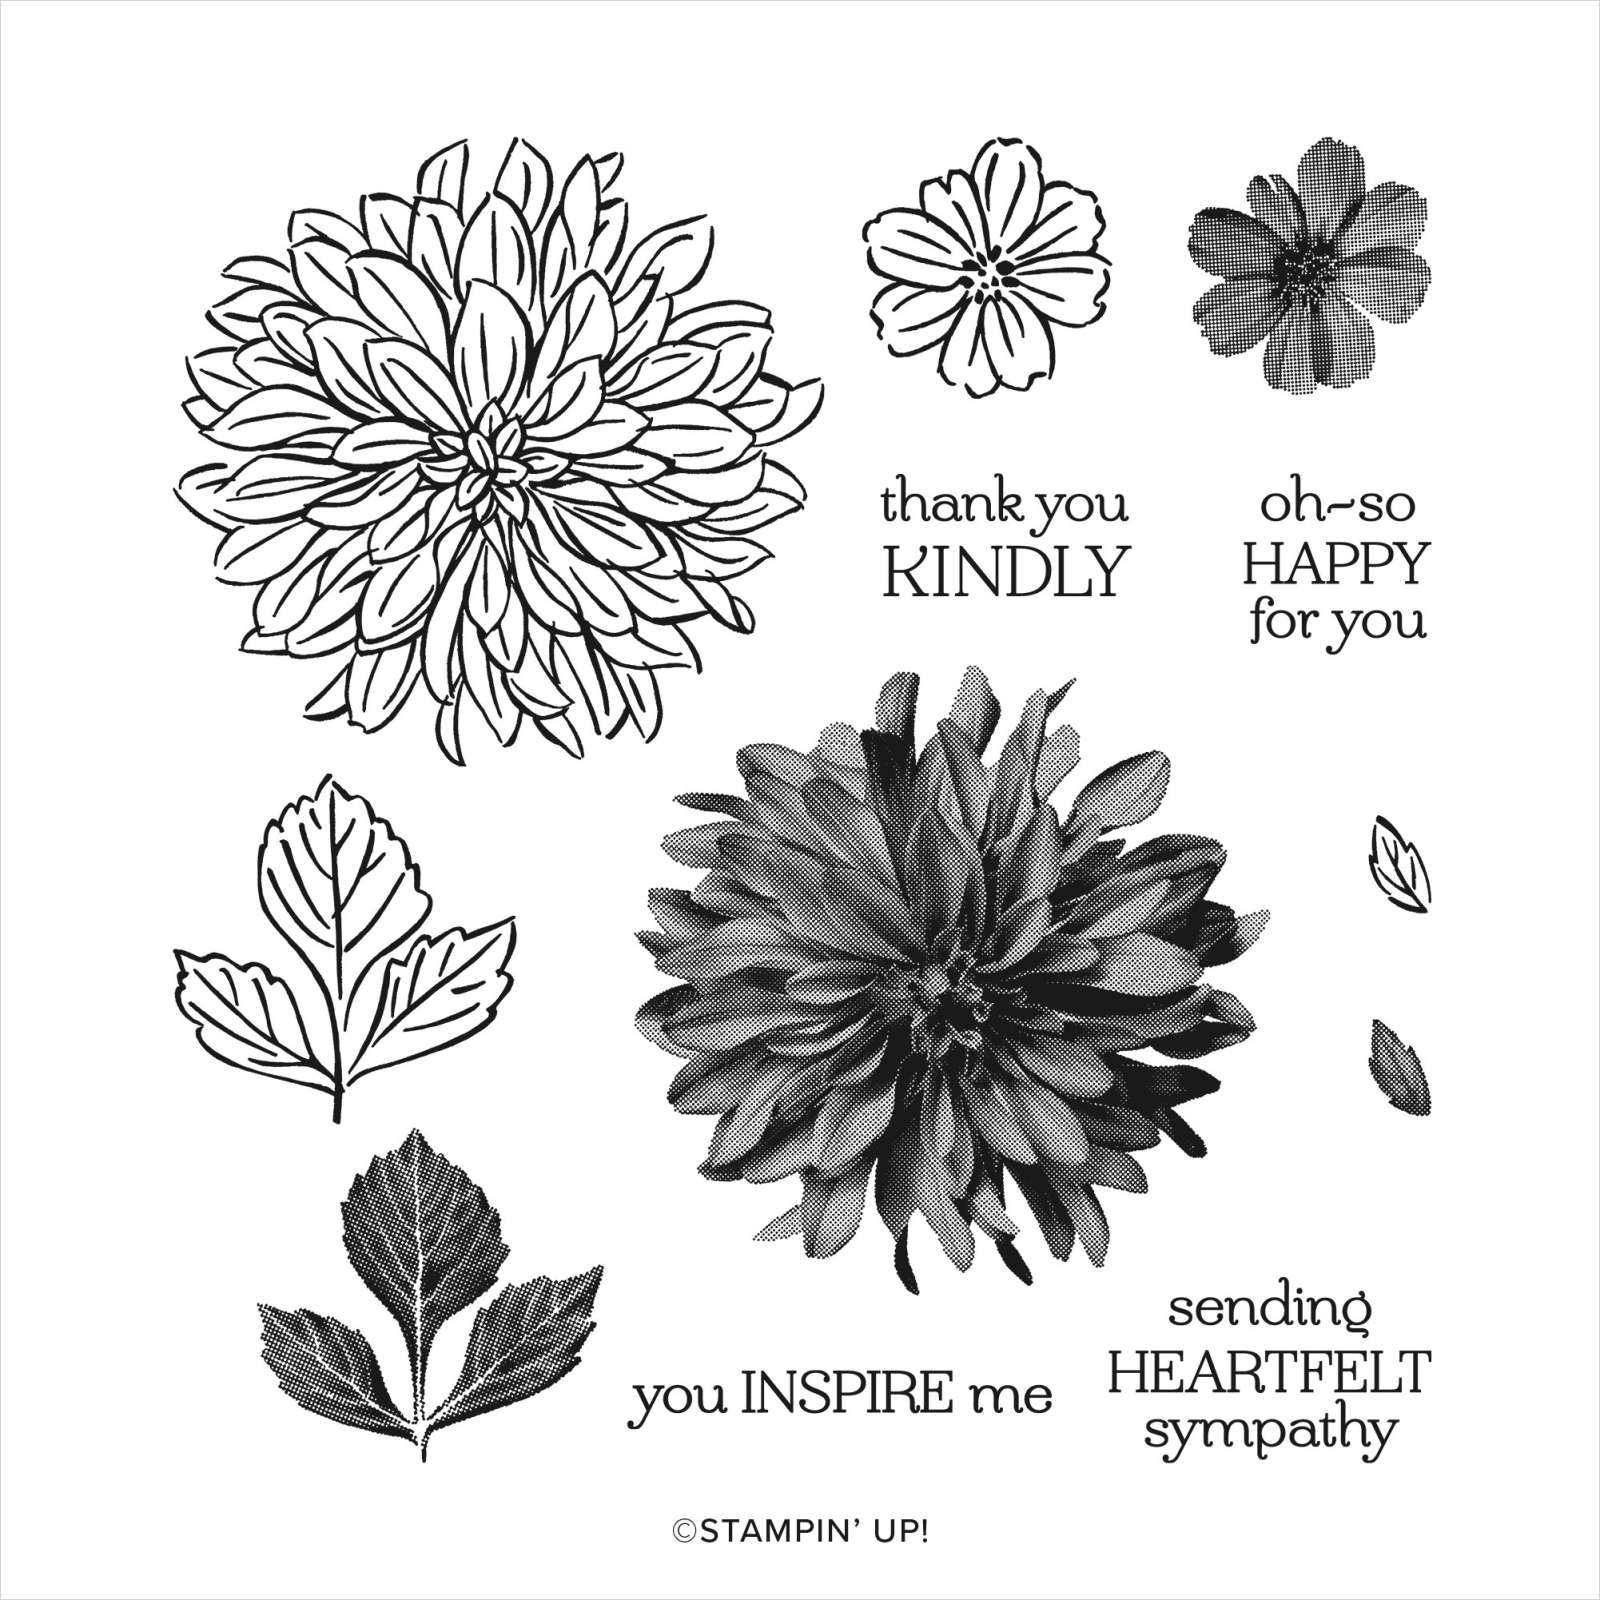
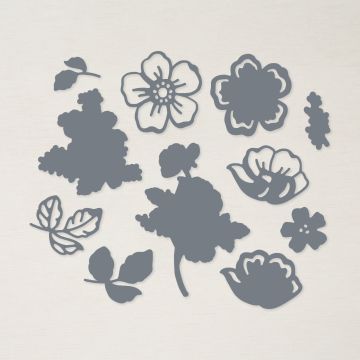
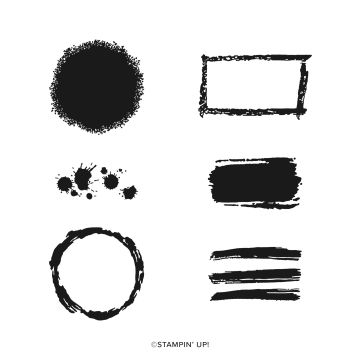
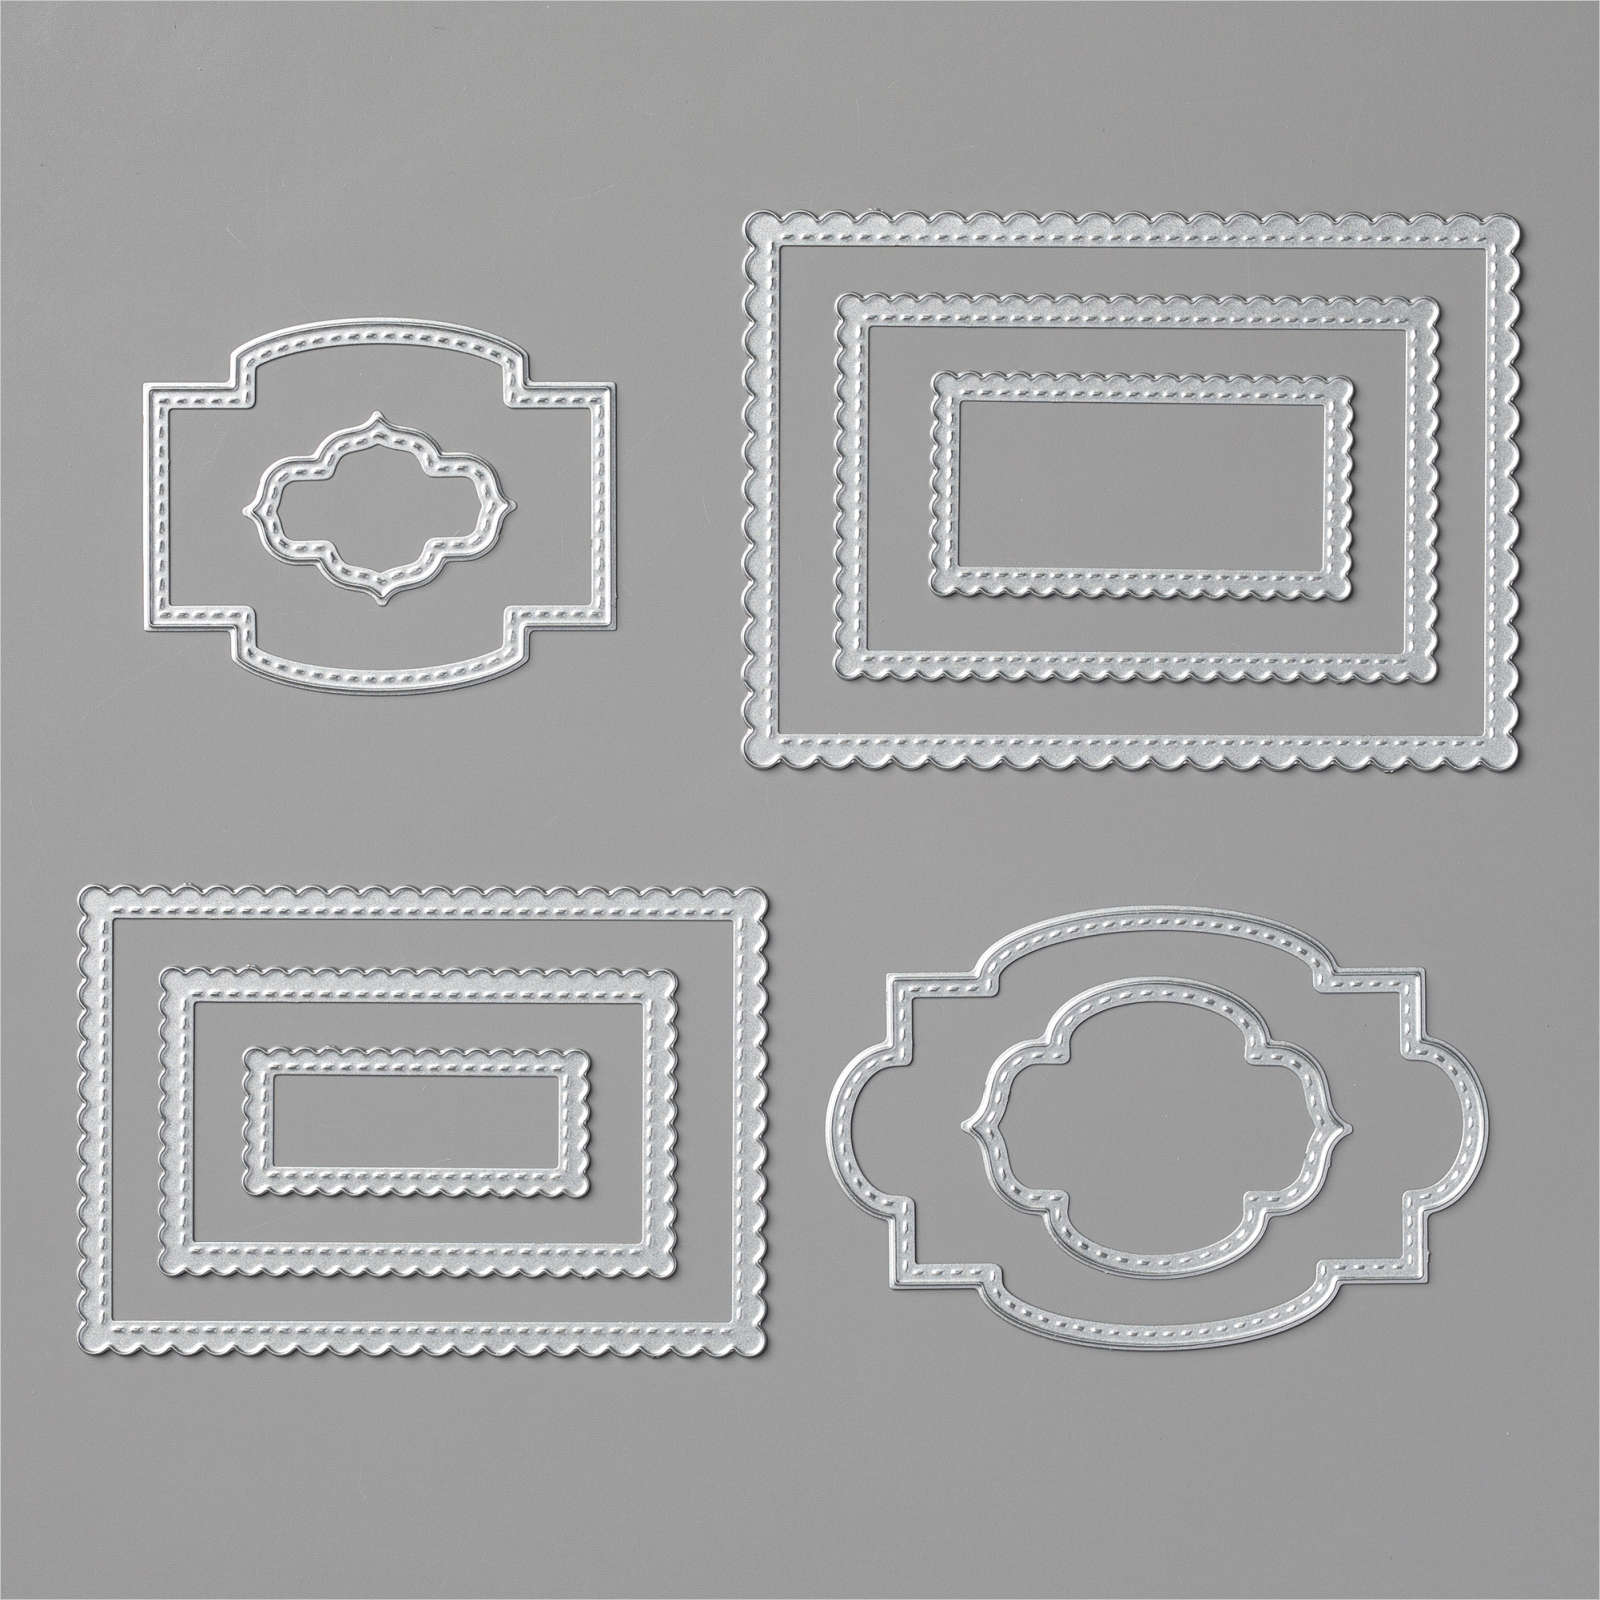
FEELS LIKE HOME CLING STAMP SET (ENGLISH)  DELICATE DAHLIAS PHOTOPOLYMER STAMP SET (ENGLISH)  SUMMER SHADOWS DIES

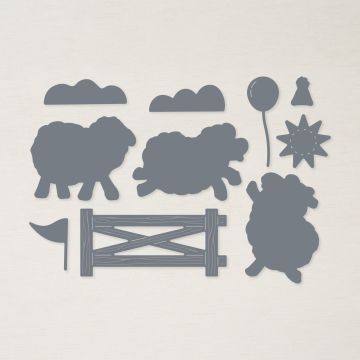
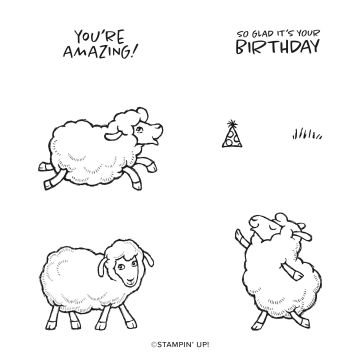
SHEEP DIES  COUNTING SHEEP CLING STAMP SET (ENGLISH)  TEXTURES & FRAMES PHOTOPOLYMER STAMP SET

IN YOUR WORDS HOST CLING STAMP SET (ENGLISH)

Check out these samples made using these products...


You can download a copy of the Sale-A-Bration brochure here:  SAB BROCHURE

Shop here to earn your free stash of goodies before it's too late:  SHOP NOW


Wednesday, June 9, 2021

Hey Chick & Hey Birthday Chick Bundles Leaving Soon

Bundled discount savings on both the Hey Chick Bundle and the Hey Birthday Chick Bundle will be ending soon --JUN 30, 2021.

Hey Birthday Chick Bundle
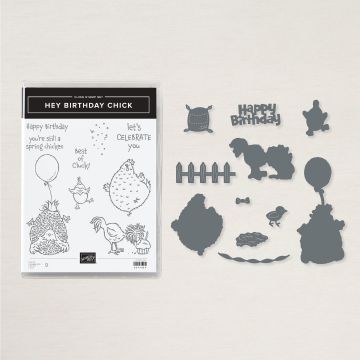
HEY BIRTHDAY CHICK BUNDLE (ENGLISH)  Hey Birthday Chick Bundle (158631)

While the Hey Birthday Chick and coordinating Birthday Chick Dies will still be available, the bundled discount (10% off) will end June 30th.  You'll want to get it now while it's discounted!

PLUS, Get a Free Cardstock + Embellishment Craft Pack

When you purchase the Hey Birthday Chick Bundle using Host Code UPX7A6WH, you'll get a FREE Craft Pack (cardstock and sequins only) to create 2 of the cards shown below!! 

Note, this is my Special Offer -- Only available through purchases made from me via my online store at cathymyers.stampinup.net

Hey Birthday Chick

SHOP NOW -- Shop the products used for this card here:  Hey Birthday Chick Card

Hey Chick Bundle

HEY CHICK BUNDLE (ENGLISH)  Hey Chick Bundle (158627)

The Hey Chick and coordinating Chick Dies are RETIRING, and WILL NOT be available after June 30th.  You'll want to get them now before they're gone for good!  Only available while supplies last!

PLUS, Get a Free Cardstock + Embellishment Craft Pack

When you purchase the Hey Birthday Chick Bundle using Host Code UPX7A6WH, you'll get a FREE Craft Pack (cardstock, sequins and ribbon only) to create 2 of the cards shown below!! 

Note, this is my Special Offer -- Only available through purchases made from me via my online store at cathymyers.stampinup.net

Hey Chick

SHOP NOW -- Shop the products used for this card here:  Hey Chick Card

Project Ideas

Check out these additional project ideas -- Copy them as they are, or use them as inspiration to create your own designs.


Friday, June 4, 2021

Always in my Heart Card

 Recently, I shared how to use up scraps to create a unique background for a tag (see previous blog post for details).  Here's that tag used on a card.

Always in my Heart

This card uses the now retired Rococo Rose Cardstock, but could easily be recreated using another color like Blushing Bride to match the ribbon.

Products used include:
  • 156194 - ALWAYS IN MY HEART BUNDLE
  • 154286 - LOVE YOU ALWAYS FOIL SHEETS -- Now only $5.00
  • 154283 - BLUSHING BRIDE 3/8" (1 CM) METALLIC RIBBON
  • 151690 - STITCHED SO SWEETLY DIES

The stamp set, dies and ribbon are all part of the Last Chance sale happening now for the Jan-Jun 2021 Mini Catalog.  Check out all that's still available here, some at up to 50% off:  Last Chance Sale

Add items used in this project to your cart now, before they're gone:  SHOP NOW


Thursday, June 3, 2021

Always in my Heart Card

Always in my Heart

I created this card using the Always in My Heart stamp set to create the unique stamped panel on Basic White cardstock.  You simply stamp the images repeatedly across the cardstock.  I used a Basic Black Stampin' Write marker to make the flower stem.  

When you trim the panel for your card, you end up with a lot of small strips.  (In a previous post, I showed how to use up those strips to create a unique tag).

This card uses the now retired Rococo Rose Cardstock, but could easily be recreated using another color like Blushing Bride to match the ribbon.

Products used include:
  • 156194 - ALWAYS IN MY HEART BUNDLE
  • 154286 - LOVE YOU ALWAYS FOIL SHEETS -- Now only $5.00
  • 154280 - LOVE YOU ALWAYS 12" X 12" SPECIALTY DESIGNER SERIES PAPER -- Now only $7.50
  • 154283 - BLUSHING BRIDE 3/8" (1 CM) METALLIC RIBBON - Now only $3.00
  • 151690 - STITCHED SO SWEETLY DIES
  • 151193 - CHAMPAGNE RHINESTONE BASIC JEWELS

The bundle, papers and ribbon are all part of the Last Chance sale happening now for the Jan-Jun 2021 Mini Catalog.  Check out all that's still available here, some at up to 50% off:  Last Chance Sale

Add items used in this project to your cart now, before they're gone:  SHOP NOW

Tuesday, June 1, 2021

Money-saving tip for using leftover strips of cardstock + more tips!

Always in my Heart

When you trim cardstock to layer on your projects, you're often left with a lot of strips that are 1/4", or 1/2" wide.  DON'T THROW THEM AWAY!  

I recently created several cards using the same hand-stamped background piece.  When I trimmed them to fit my project, I was left with several strips.  I created a tag with them (see steps below).  For my tag, I used the following:

  1. Always In My Heart stamp set (154337) (Bundle with dies available at 10% discount) -- LAST CHANCE SALE
  2. Floral Heart Dies (154306) -- LAST CHANCE SALE
  3. Love You Always Foil Sheets (Blushing Bride piece) (154286) -- ON SALE NOW FOR ONLY $5.00
  4. Stitched So Sweetly Dies (151690)
  5. Blushing Bride 3/8" Metallic Ribbon (154283)--ON SALE NOW FOR ONLY $3.00

Creating the Sentiment

Notice the words on the tag?  That's not how the stamp is designed. 

Here's the way the stamp is designed  - 


Here's my embellishment -    


To create the tag, I used a Basic Black Stampin' Write marker to apply ink to only a portion of the stamp at a time, cleaning thoroughly between each inking/stamping.  Each time I stamped, I lined up the words where I wanted them.

BASIC BLACK STAMPIN' WRITE MARKER  100082 BASIC BLACK STAMPIN' WRITE MARKER

Other colors are also available, so you can match your projects.
BRIGHTS STAMPIN' WRITE MARKERS  147157 BRIGHTS STAMPIN' WRITE MARKERS
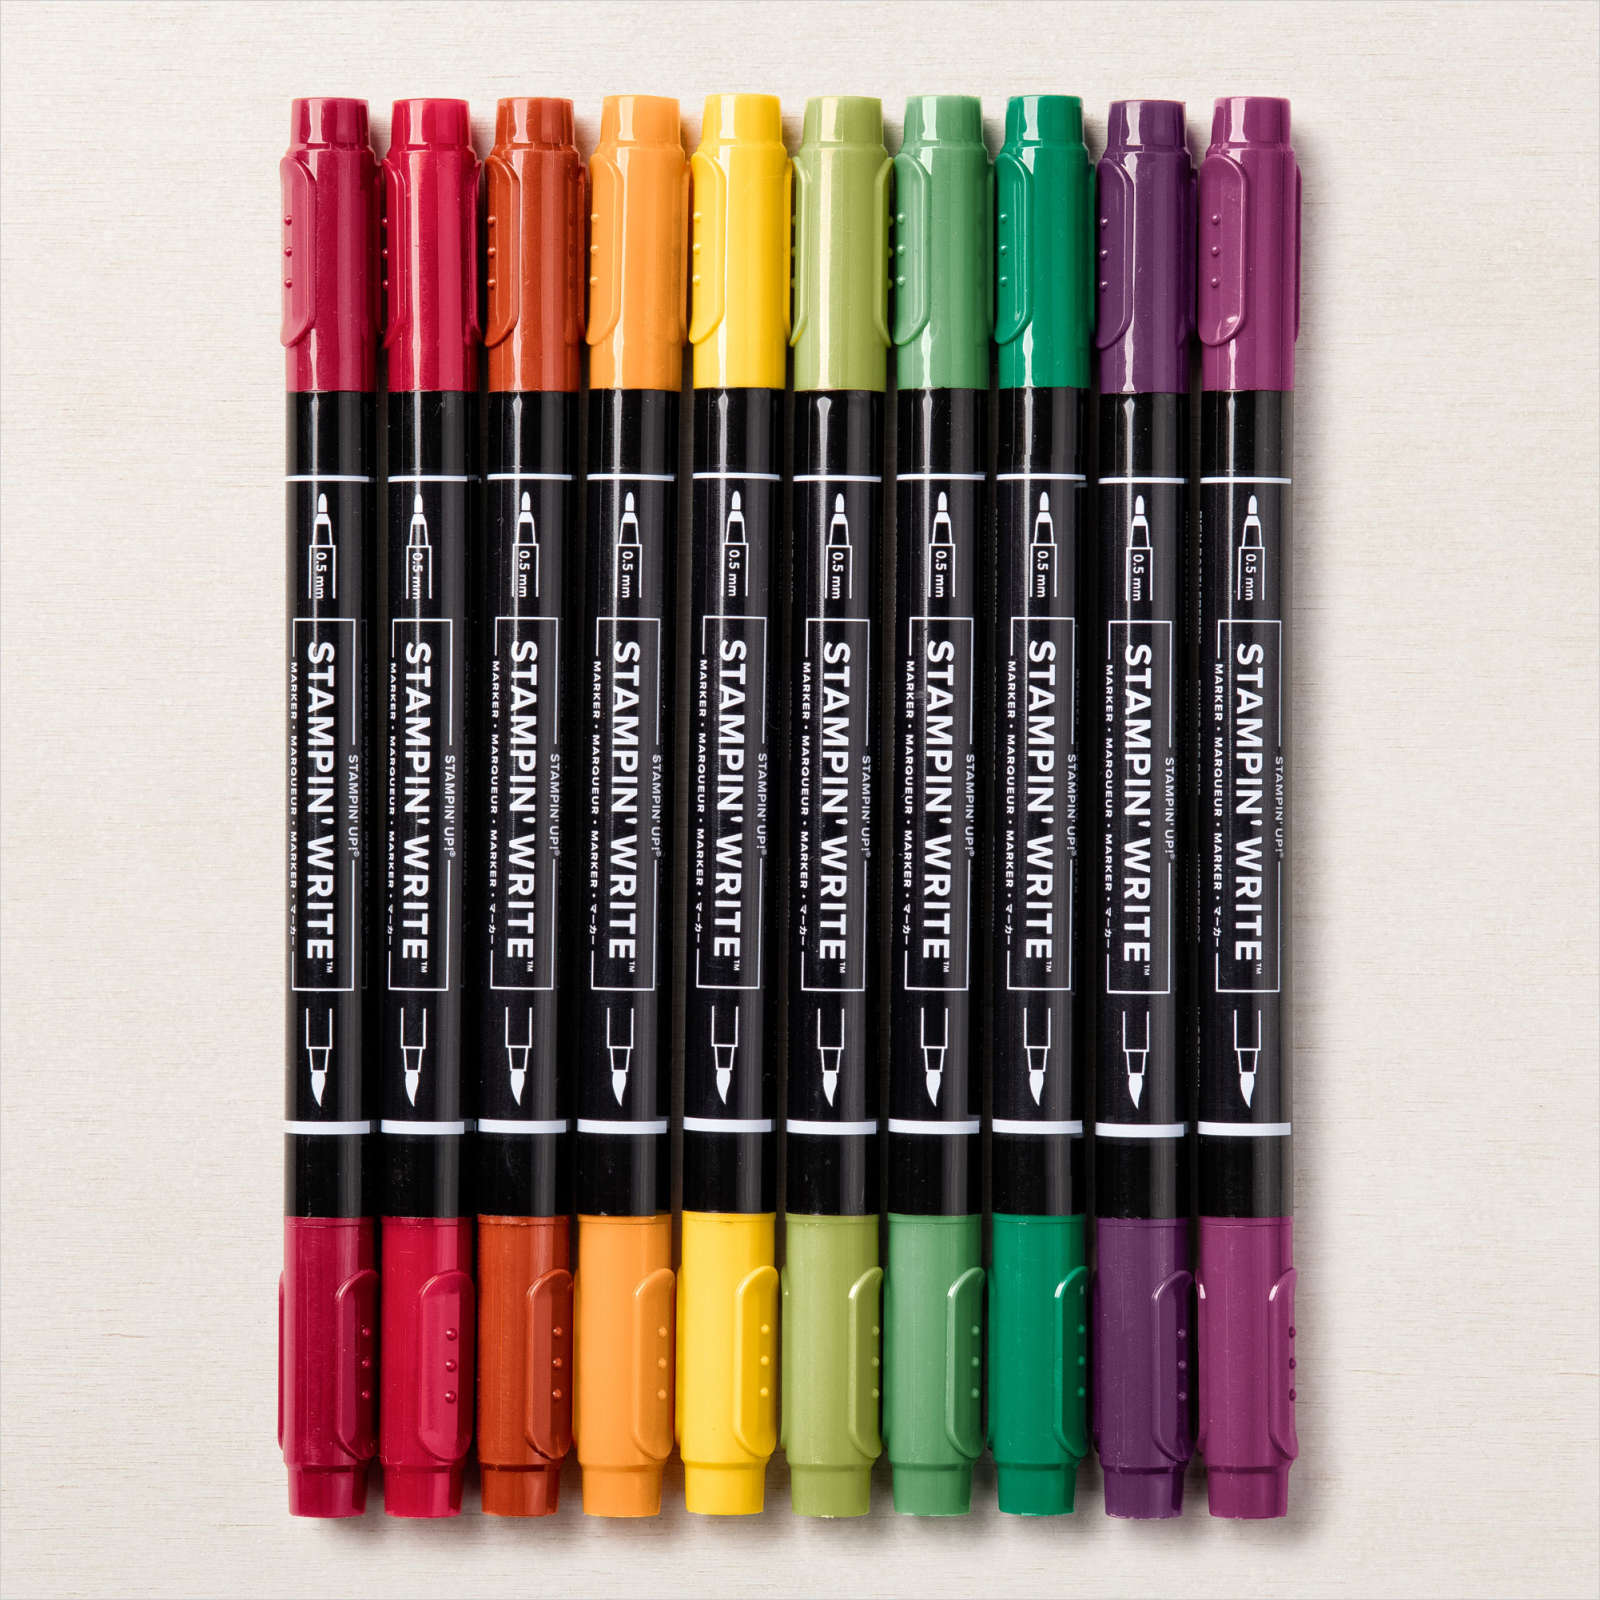
REGALS STAMPIN' WRITE MARKERS  147155 REGALS STAMPIN' WRITE MARKERS

SUBTLES STAMPIN' WRITE MARKERS  147156 SUBTLES STAMPIN' WRITE MARKERS
NEUTRALS STAMPIN' WRITE MARKERS  147158 NEUTRALS STAMPIN' WRITE MARKERS

2020–2022 IN COLOR STAMPIN' WRITE MARKERS  153125 2020–2022 IN COLOR STAMPIN'

2021–2023 IN COLOR STAMPIN' WRITE MARKERS  155639 2021–2023 IN COLOR STAMPIN'

Die-cutting the edge of  a piece of cardstock

Did you notice the top and bottom edge of the sentiment piece?  This look was achieved using a die from the Stitched so Sweetly Dies.  My piece of cardstock was a lot smaller than the die, allowing me to only apply the die cut to the top portion (not the entire image).  I then repeated this for the bottom portion, to create the unique embellishment.


My embellishment with top & bottom edge die-cut


Steps

Here's are the quick and easy steps to create your own unique tag for your projects
  1. Cut a tag shape (rectangle), choosing desired width and length.
  2. Cut the top with a tag topper punch.
      1. FANCY TAG TOPPER PUNCH Fancy Tag Topper Punch (152711)
      2. DELIGHTFUL TAG TOPPER PUNCH Delightful Tag Topper Punch (149518)
    1. Apply adhesive to each strip.
    2. Adhere strips across your tag in desired order/pattern.
    3. Insert ribbon or twine in hole at top.
    4. Add any desired embellishments to tag, like rhinestones or gems, words or greetings, flowers, etc.  Go here to see available embellishments:  Embellishments & Ribbon
    Have fun creating your own unique tags!

    Add desired items from this post to your cart now:  SHOP NOW


    Wednesday, March 24, 2021

    Under My Umbrella Card

    Under My Umbrella Card

    It's March - National Umbrella Month!  It inspired me to pull out the Under My Umbrella stamp set and create this bright, cheerful card.  Hope it inspires you as well.

    Here are the basics needed for this card in case you want to recreate it:

    • Under My Umbrella stamp set
    • Melon Mambo + Smoky Slate Classic Stampin' Pads
    • Melon Mambo cardstock (for card base)
    • Basic White cardstock (4 1/4" x 2 1/2")
    • Rainbow Glimmer Paper (for umbrella)
    • Artistry Blooms Designer Series Paper (DSP) (two 1" x 4 1/4" strips)
    • Umbrella Builder Punch
    • Double Oval Punch
    • Melon Mambo Stampin' Blends 
    • Whisper White Crinkled Seam Binding Ribbon (about 7")
    • Artistry Blooms Sequins
    • Stampin' Seal + Stampin' Dimensionals

    You can visit my online store and quickly add these items to your cart here:  Product List


    Tips for Creating this Card


    Tip #1 - Coloring Ribbon with Stampin' Blends

    For this card, I wanted to have a matching ribbon, so I took a strip of our Crinkle Seam Binding ribbon, and colored it using a Stampin' Blends marker to get a matching Melon Mambo ribbon for my project.

    Under My Umbrella Crinkled Seam Binding Ribbon  Under My Umbrella Coloring Ribbon with Stampin' BlendsUnder My Umbrella Coloring Ribbon with Stampin' Blends  Under My Umbrella Coloring Ribbon with Stampin' Blends


    Tip #2 - Money-saving tip for layering DSP

    Often when creating a project, you'll want to layer cardstock on top of DSP.  For this card, the entire center portion is covered by the Basic White Panel, so I choose to use 1" strips instead of a full piece of DSP, saving a little DSP for another project!

    Under My Umbrella DSP Money-saving Tip Under My Umbrella DSP Money-saving Tip


    Tip #3 - Using Grid Paper for placement

    Our Grid Paper  easily allows you to line things up right where you want them.  By using the ruler along the bottom edge, I was able to apply the strips of DSP at an even 3/4" from either side.

    Under My Umbrella using Grid Paper  Grid Paper (#130148) - pack of 100 sheets!

    You can get the grid paper here:  Grid Paper


    Tip #4 - Go the extra step, and make the inside match!

    If you want to take your card one extra step with a little WOW factor, make the inside match the front!  I carried the front layout into the inside!

    Under My Umbrella Card Under My Umbrella Card


    Video

    Check out the video for this card here:  Under My Umbrella Video