

When you trim cardstock to layer on your projects, you're often left with a lot of strips that are 1/4", or 1/2" wide. DON'T THROW THEM AWAY!
I recently created several cards using the same hand-stamped background piece. When I trimmed them to fit my project, I was left with several strips. I created a tag with them (see steps below). For my tag, I used the following:
- Always In My Heart stamp set (154337) (Bundle with dies available at 10% discount) -- LAST CHANCE SALE
- Floral Heart Dies (154306) -- LAST CHANCE SALE
- Love You Always Foil Sheets (Blushing Bride piece) (154286) -- ON SALE NOW FOR ONLY $5.00
- Stitched So Sweetly Dies (151690)
- Blushing Bride 3/8" Metallic Ribbon (154283)--ON SALE NOW FOR ONLY $3.00
Creating the Sentiment
Notice the words on the tag? That's not how the stamp is designed.
Here's the way the stamp is designed - 

Here's my embellishment - 
To create the tag, I used a Basic Black Stampin' Write marker to apply ink to only a portion of the stamp at a time, cleaning thoroughly between each inking/stamping. Each time I stamped, I lined up the words where I wanted them.

To create the tag, I used a Basic Black Stampin' Write marker to apply ink to only a portion of the stamp at a time, cleaning thoroughly between each inking/stamping. Each time I stamped, I lined up the words where I wanted them.
 100082 BASIC BLACK STAMPIN' WRITE MARKER
Other colors are also available, so you can match your projects.
 147157 BRIGHTS STAMPIN' WRITE MARKERS
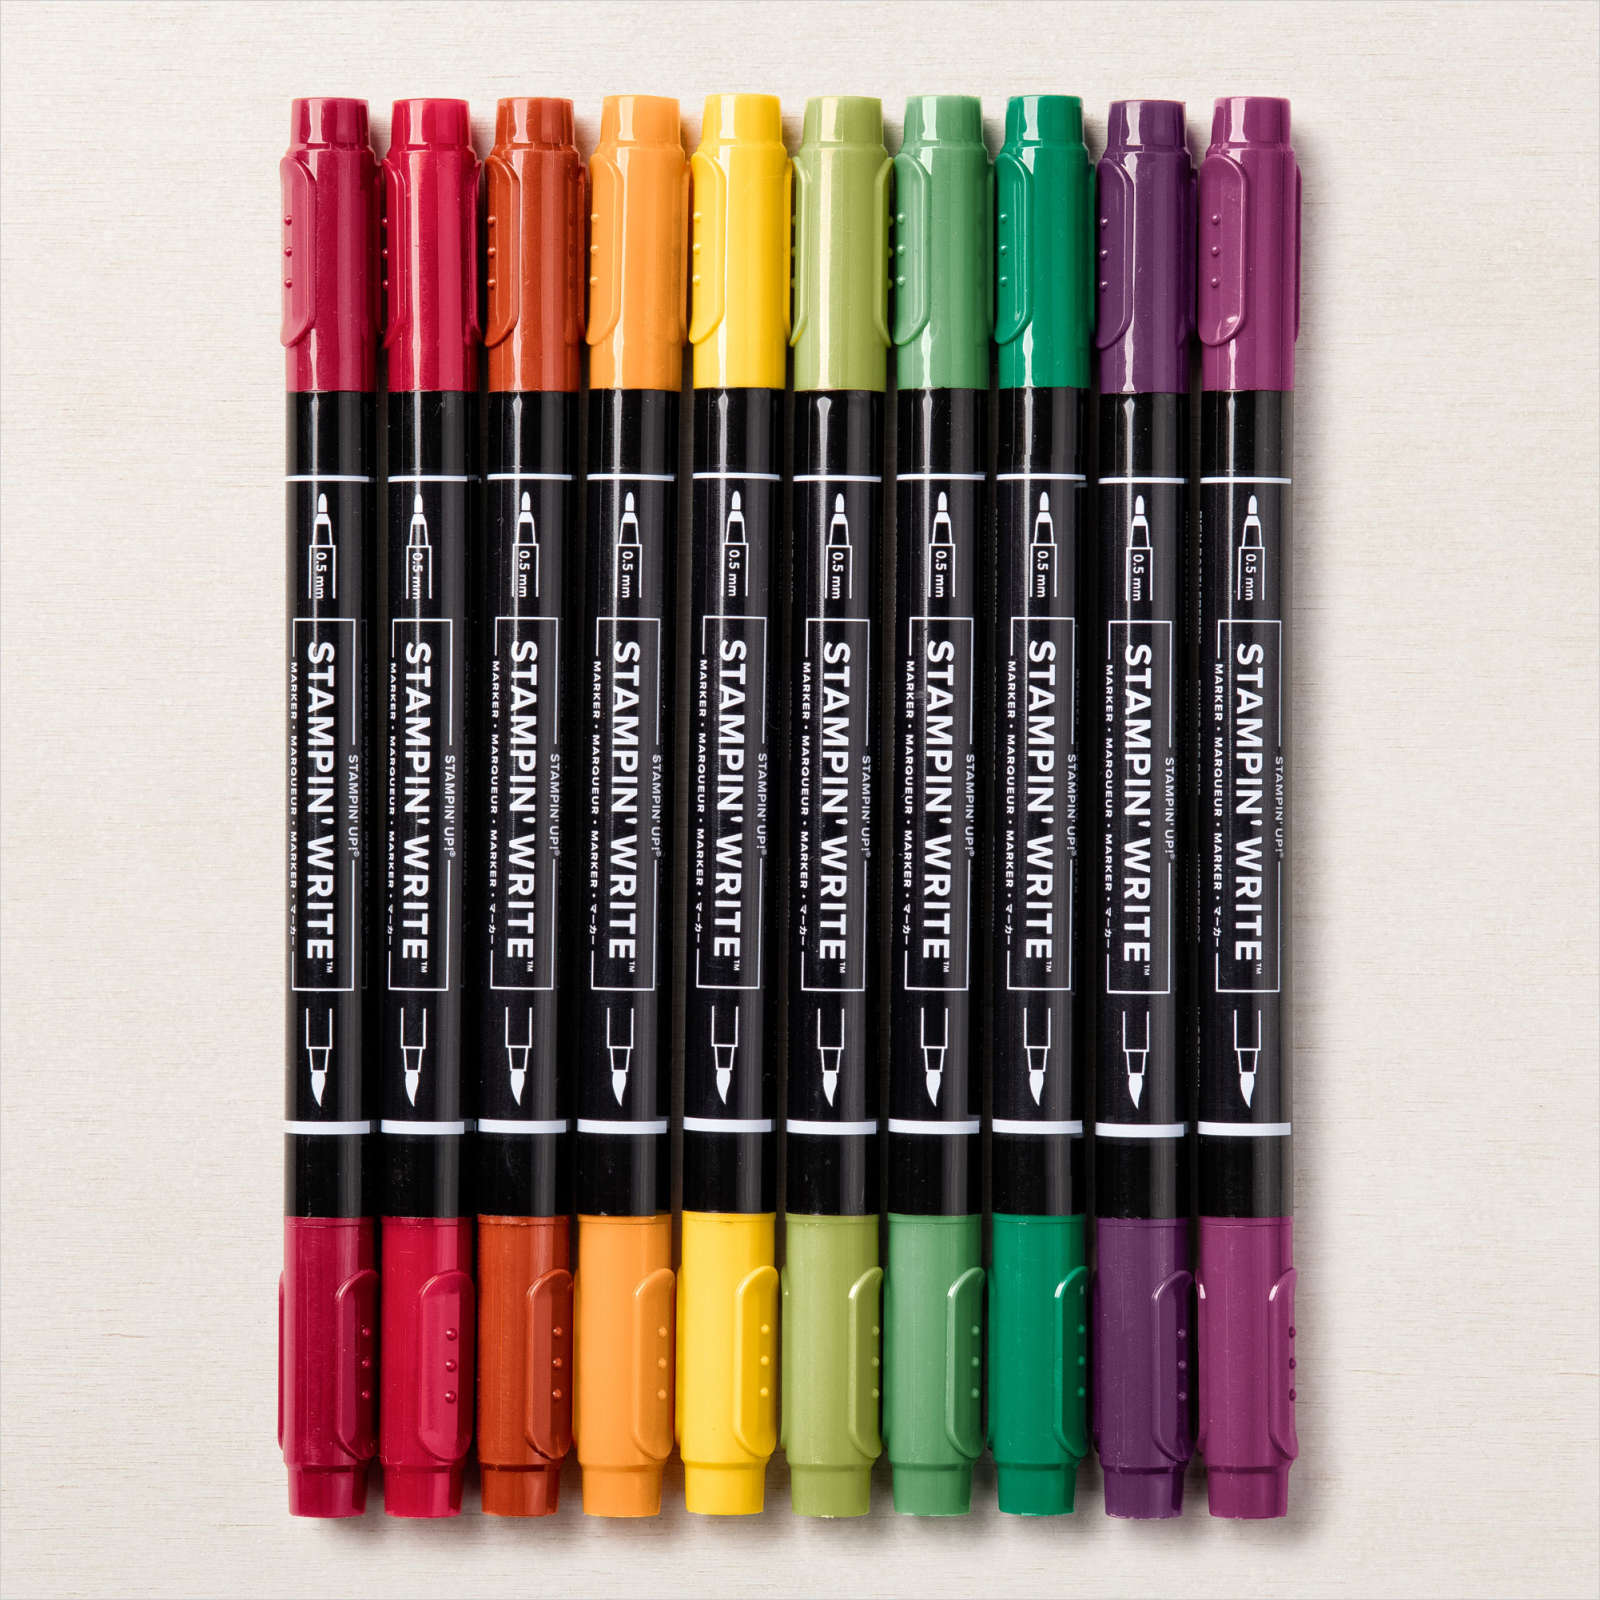 147155 REGALS STAMPIN' WRITE MARKERS
 147156 SUBTLES STAMPIN' WRITE MARKERS
 147158 NEUTRALS STAMPIN' WRITE MARKERS
 153125 2020–2022 IN COLOR STAMPIN'
 155639 2021–2023 IN COLOR STAMPIN'
Die-cutting the edge of a piece of cardstock
Did you notice the top and bottom edge of the sentiment piece? This look was achieved using a die from the Stitched so Sweetly Dies. My piece of cardstock was a lot smaller than the die, allowing me to only apply the die cut to the top portion (not the entire image). I then repeated this for the bottom portion, to create the unique embellishment.
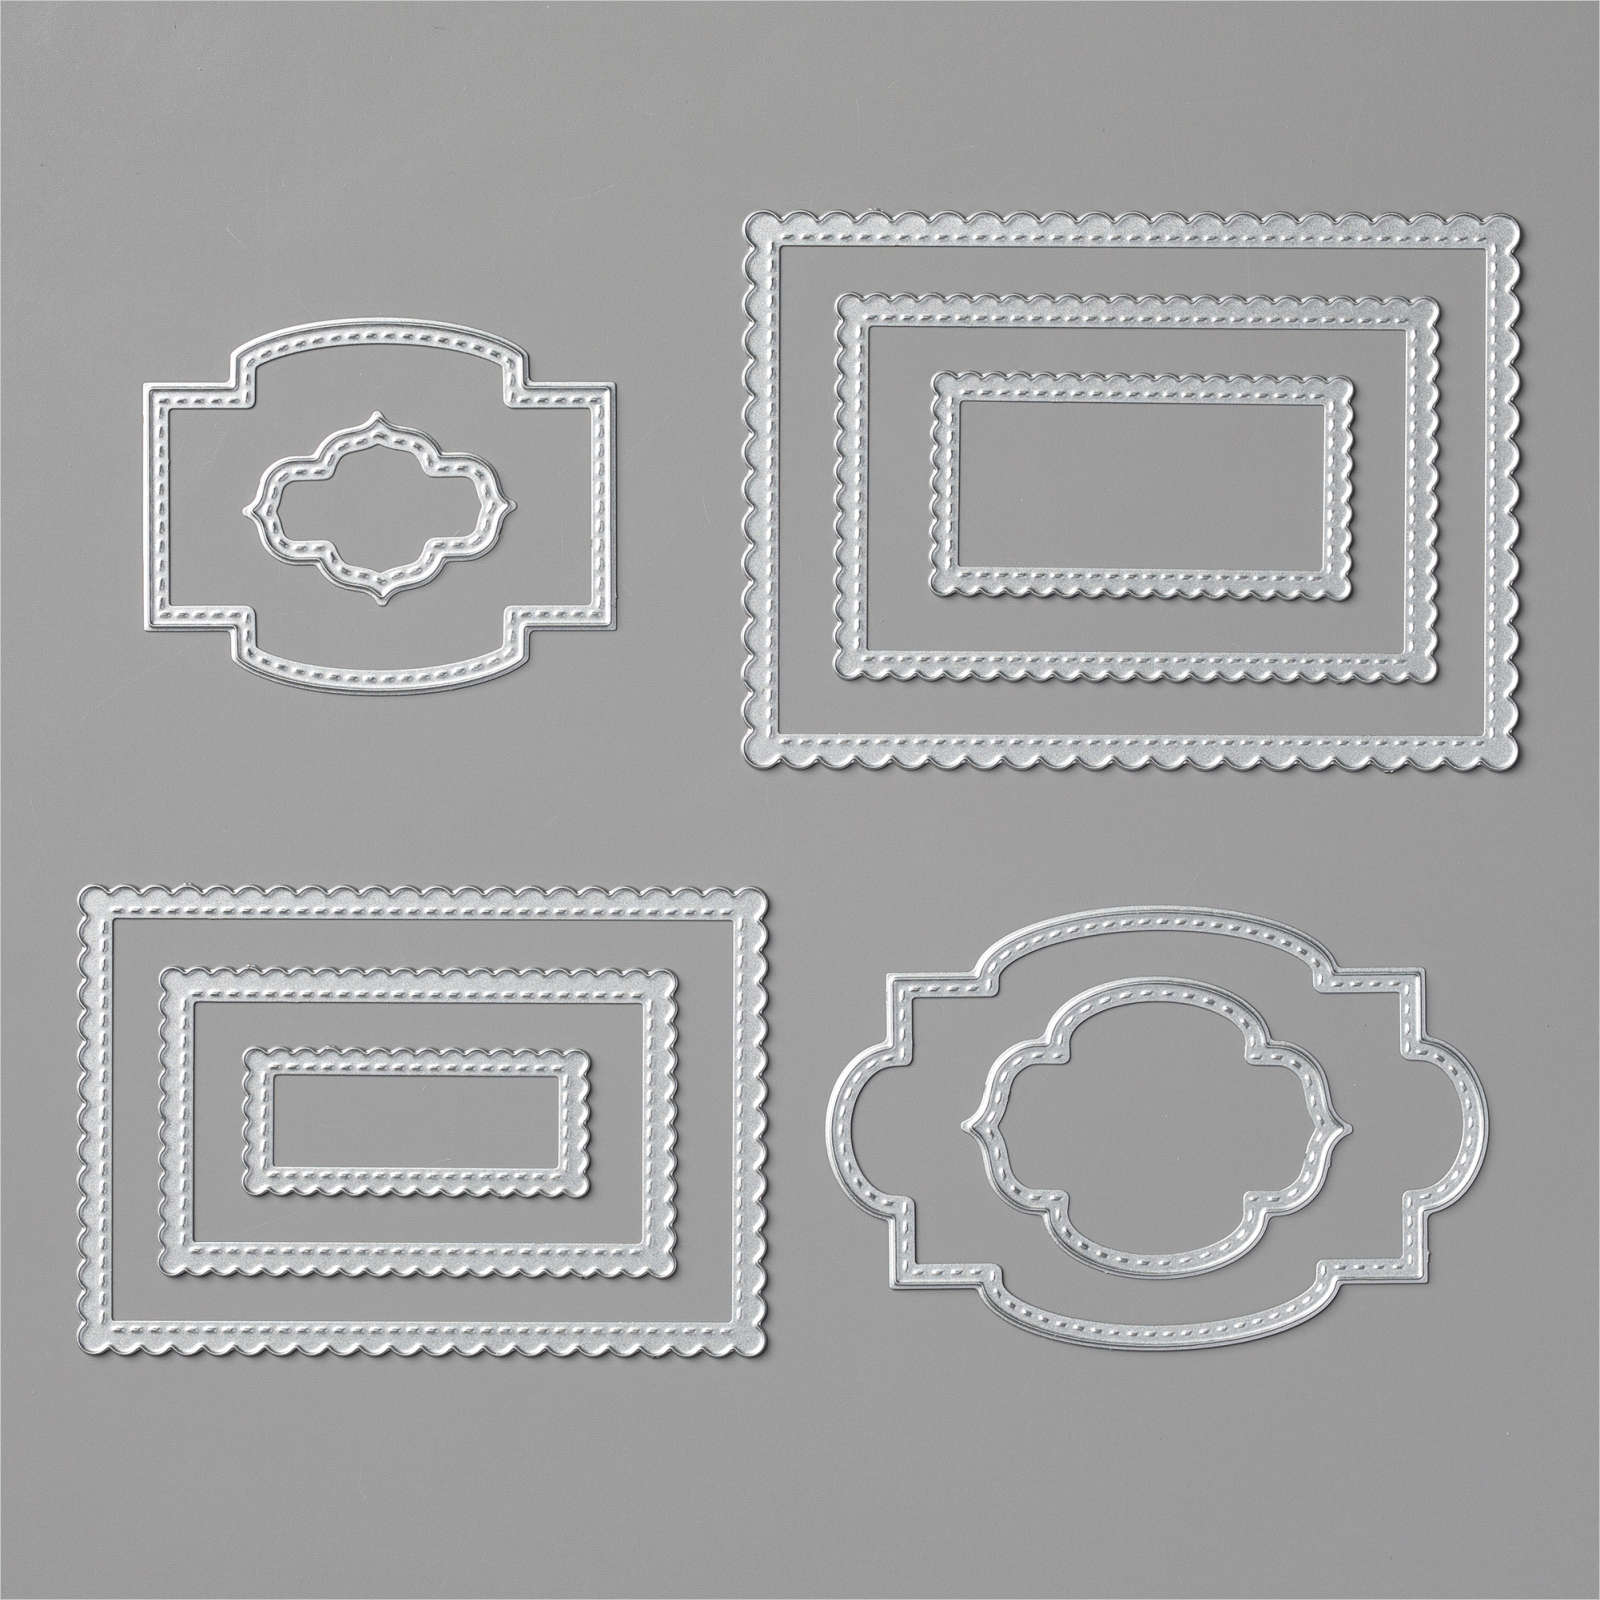
 My embellishment with top & bottom edge die-cut
Steps
Here's are the quick and easy steps to create your own unique tag for your projects
- Cut a tag shape (rectangle), choosing desired width and length.
- Cut the top with a tag topper punch.
- Apply adhesive to each strip.
- Adhere strips across your tag in desired order/pattern.
- Insert ribbon or twine in hole at top.
- Add any desired embellishments to tag, like rhinestones or gems, words or greetings, flowers, etc. Go here to see available embellishments: Embellishments & Ribbon


Have fun creating your own unique tags!


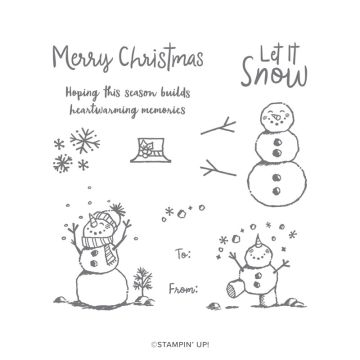 Snowman Season
 Whisper White cardstock
 Night of Navy cardstock
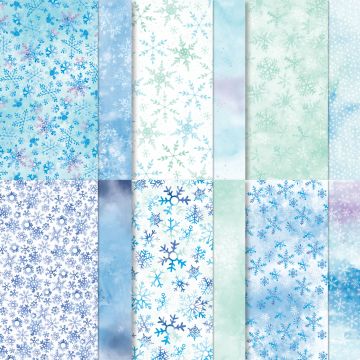 Snowflake Splendor DSP
 Pacific Point ink
 Tuxedo Black Memento ink
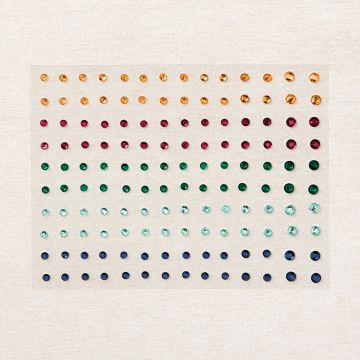 Holiday Rhinestones
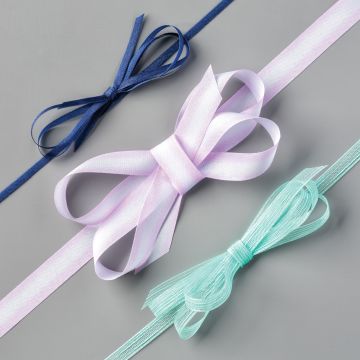 Playing with Patterns Ribbon Combo Pack
 Stampin' Dimensionals
 Stampin' Seal
 Pumpkin Pie Blends
 Pool Party Blends


