Wednesday, April 15, 2020

Daisy Delight Card #2

Daisy Delight Card
Daisy Delight Stamp Set + Peaceful Moments Stamp Set + Seasonal Layers Dies + Everyday Label Punch

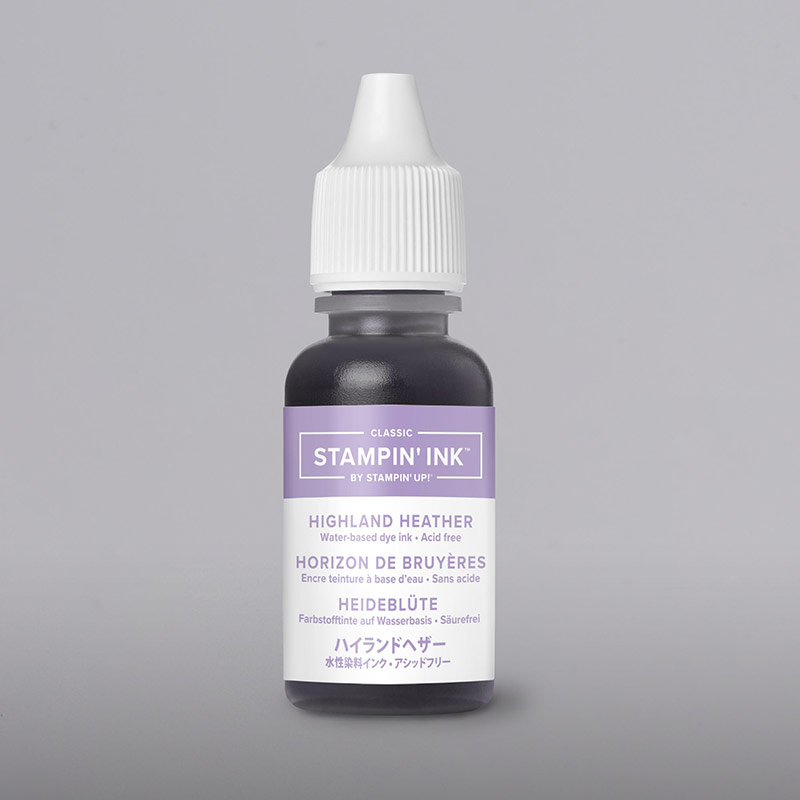
This multi-layer card features a simple panel, stamped with images from the Daisy Delight Stamp Set.  The card front also features a multi layer side created using with a die from the Seasonal Layers Dies.  To create the greeting layers, stamp the image from the Peaceful Moments Stamp Set and punch out with the Everyday Label Punch.  Punch a second Label from Highland Heather, and cut it in half layering each half at opposite ends of the stamped greeting.

To recreate this card, you can check out the list of products used, and add them to your cart here:  PRODUCT LIST

Monday, April 13, 2020

Daisy Delight

Daisy Delight Card
Daisy Delight Stamp Set + A Beautiful Day Stamp Set + Daisy Punch

This simple, sweet card features a large focal point daisy stamped with the Delightful Daisy stamp set, and punch out with the Daisy Punch.  The center features a Dazzling Diamonds glitter accent.  The petals were curled down (toward the card base) before adhering (only in the center) to give added dimension.  The stamped panel is layered on Highland Heather, and then on the Old Olive card base with dimensionals.  The greeting, stamped in Old Olive, is from the Beautiful Day stamp set.

To recreate this card, you can check out the list of products used, and add them to your cart here:  PRODUCT LIST

Sunday, April 12, 2020

Custom Wink of Stella Colors


Is your Wink of Stella all used up????  Not so fast -- don't throw it away!  There is still lots of shimmer left in it -- it just won't come out anymore.  Follow these steps to get more shimmer + create your own custom Wink of Stella - in Stampin' Up! colors of course.

Work on a protected surface and....

Custom Wink of Stella         
  1. Remove Cap.
  2. Carefully remove insert cartridge by lifting up on the black circle and lay it down on paper towels.         
  3. Fill barrel about 1/2 way, with rubbing alcohol.
  4. Add several drops of your favorite ink.  It will take about 7-8 drops to see the color.  Remember, it will be mixing with the silver shimmer, and the lighter the ink, the more you'll need.
  5. Replace cartridge and shake well.  Prime it by using it on scrap paper before applying to your project.
Now it's ready to use.  The example below was done with a Highland Heather Wink of Stella on Whisper White cardstock.

Custom Wink of Stella
Wink of Stella Shimmer with Highland Heather Ink

Wednesday, April 8, 2020

Painted Poppies Card

Painted Poppies Card
Painted Poppies Bundle (stamps + dies)

Are you a fan of poppies?  It's been a very popular stamp set from our January-June 2020 Mini catalog.  This card features the Painted Poppies stamp set + Painted Labels dies, on a bright Poppy Parade card base.  The top layer features two smaller poppy images, tucked behind a larger one, with leaves tucked in around them.  The Basic Black layer is cardstock that's been torn around the edges to be the desired size for the layer.  The greeting comes from the Timeless Tulips Stamp Set.  A small strip of cardstock that's been textured with an embossing folder provides the backdrop.  The completed panel is layered on a Poppy Parade card base.

To recreate this card, you can check out the list of products used, and add them to your cart here:  PRODUCT LIST

Monday, April 6, 2020

Honey Bee Card

Honey Bee Card
Honey Bee Stamp Set + Detailed Bee Dies + Stitched Shapes Dies
This card utilizes a Basic Black + Whisper White color scheme.  Notice the double white layer.  The honey bee shape was die cut from the top white layer three times (the cutouts were saved for another project!).  Then, the honey bee was stamped into the opening that was die cut, for an inlaid look.  The center bee has a beautiful vellum overlay from the Detailed Bees Dies.  For added texture and gloss, the "honey comb" shape was die cut from Black Foil, providing the back drop for the "sweet friend" sentiment from the Honey Bee Stamp Set.  Coordinating floral stamped images were also stamped on the inside of the card.

To recreate this card, you can check out the list of products used, and add them to your cart here:  PRODUCT LIST

Wednesday, April 1, 2020

Poppy Moments Card #2

Poppy Moments Card
Poppy Moments + Perennial Birthday Card

Poppy Moments Dies - one of the most popular from the Jan-Jun 2020 Mini Catalog!

This card uses a technique of inlaying the Basic Black "leftover pieces" from a die cut (image 1) made for a different project, on top of the die cut  (image 2) done in Poppy Parade.  Adding leaves die cut from Vellum cardstock, + Pearls helps to soften the look.

Image 1
Image 2 (the large outside die was used, not the smaller one in the pic.)

The greeting is stamped from the Perennial Birthday stamp set, layered on Basic Black + Whisper White cardstock.  

(Note, the Poppy Parade ribbon used was on the Clearance Rack, but is no longer available.)

To recreate this card, you can check out the list of products used, and add them to your cart herePRODUCT LIST